

A Bicycle Pump Check Before a Ride: Match the Valve and Tire Guidance
2 min read
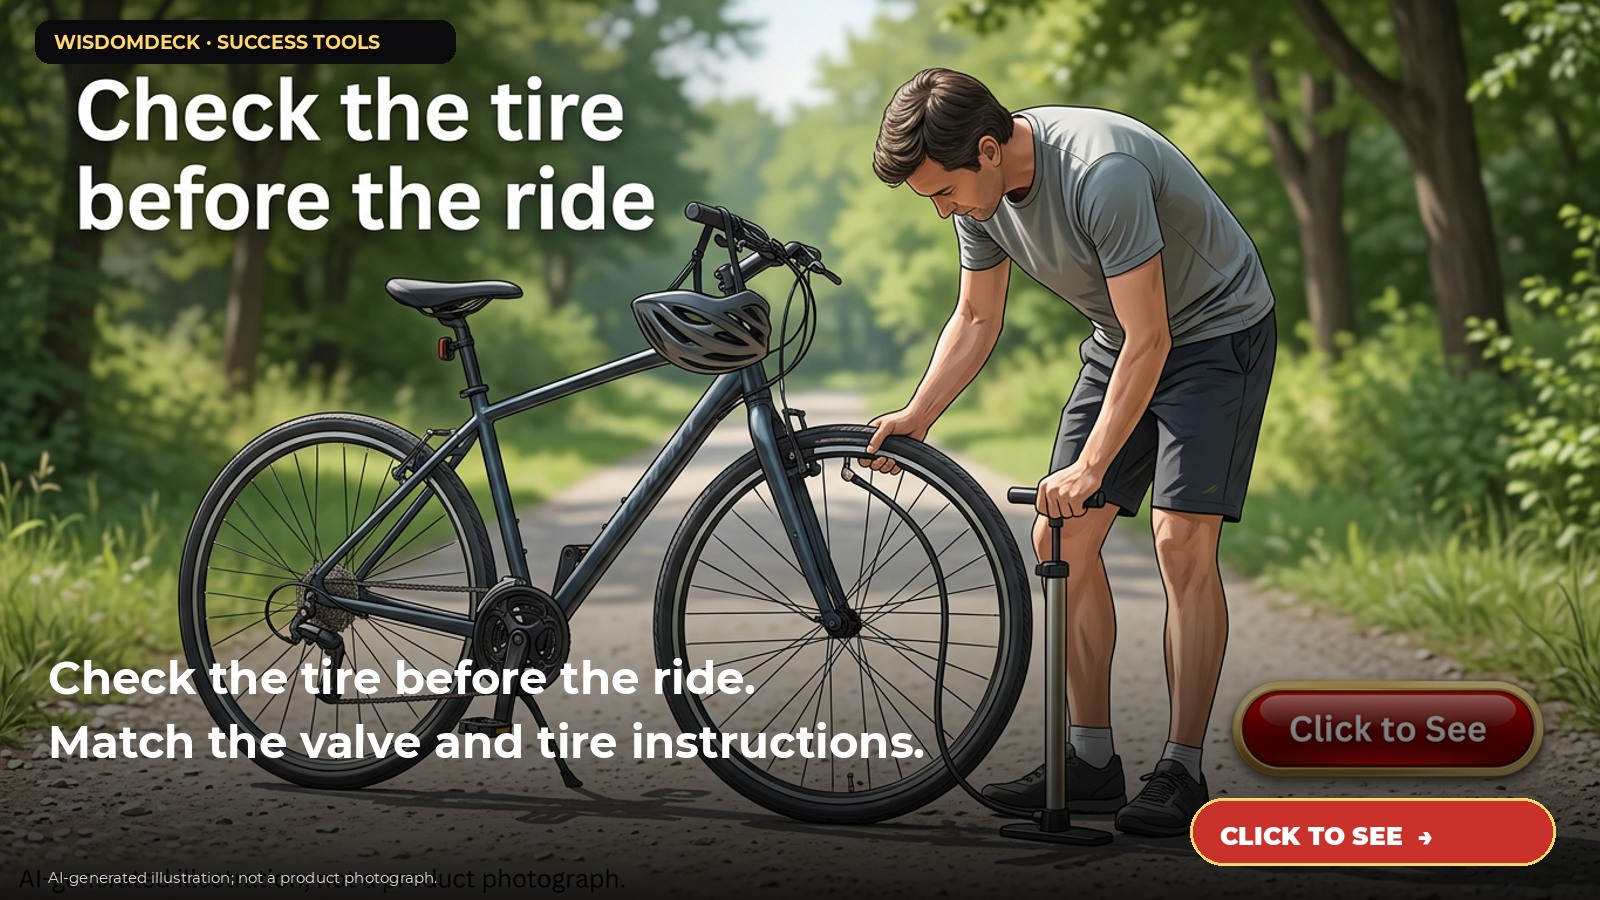
We may earn a commission if you buy through this link.
See PRO BIKE TOOL mini floor bicycle pump on Amazon. Check the current listing before buying; existing supplies may be all you need.
A quick tire check before a bike ride can reveal that a tire needs attention while the bike is still at home. A pump is useful only when it matches the valve and the tire’s stated pressure guidance. Do not inflate to a number chosen from habit or a generic online chart.
Inspect the tire and valve
Look for visible cuts, embedded debris, bulges, exposed casing, or a damaged valve. If you notice structural damage or the wheel does not seat correctly, do not ride until the issue is assessed by a qualified bike mechanic. A pump cannot repair a damaged tire.
Identify whether the bicycle uses a Presta or Schrader valve and confirm the pump head fits. Read the pump manual to learn whether its head needs to be switched, threaded, or locked. Forcing the wrong connection can damage the valve.
Use the tire maker’s range
Check the pressure range printed on the tire and follow bicycle and component manufacturer instructions. Use the intended units and a gauge if the pump has one. Tire pressure can depend on the tire, rider, load, and conditions; do not exceed the listed maximum or assume one setting suits every bike.
For example, a rider can identify the valve, attach the compatible pump head, and add air in measured increments while checking the gauge. If the reading is unclear or the pump does not attach securely, stop and seek help.
Keep the bike stable while pumping
Place the bicycle on stable ground and follow the pump maker’s directions for positioning the foot and handle. Keep fingers clear of spokes, chain, and moving parts. Do not lean the bike where it can fall onto someone or damage the valve.
After inflating, remove the pump head as instructed and check that the valve cap is replaced if used. Inspect the tire seating around the rim. If the tire loses air quickly, do not simply keep pumping; locate the cause or ask a repair professional.
Store the pump and check again
Return the pump to a known place with its valve adapters and instructions. Check hoses and connectors for cracks, and keep the tool dry and clean according to the manual. A compact pump may need a stable stance or extra effort; practice its operation before a time-sensitive ride.
Carry repair supplies only if you know how to use them safely and they suit your bike. A pump does not replace a helmet, functioning brakes, lights, or a pre-ride safety inspection.
Choose a pump that fits the bicycle
Check the active listing for valve compatibility, pressure range, gauge, dimensions, and included attachments. The referenced PRO BIKE TOOL model is listed as a mini floor pump compatible with common valve types; confirm the current specifications for your tire.
The goal is a deliberate pressure check before setting off—not a promise that pumping alone makes a damaged bicycle safe.

Launch list
Be there on day one.
One email when the book opens on Kickstarter. Nothing else. Already reading the book? Your Cheat Sheet is at wisdomdeck.com/free.
Coming soon on 
The book itself — 40 laws in ten parts, 320 pages, each ending with The Work — is funded first on Kickstarter.


