

A Seed Starter Tray Routine: Label Cells and Follow the Seed Packet
2 min read
We may earn a commission if you buy through this link.
See Gardzen 6-cell seed starter trays on Amazon. Check the current listing before buying; existing supplies may be all you need.
A seed-starting tray can help keep small plantings organized, but the seed packet and local growing advice should guide the actual planting. Different plants need different depths, temperatures, light, and timing. A tray by itself cannot guarantee germination or a successful transplant.
Choose what to start and when
Read each seed packet before filling cells. Note the recommended sowing depth, light conditions, temperature range, and whether the seed is best started indoors or directly outdoors. Check local frost dates and regional extension guidance when planning a transplant date.
Start with a manageable number of varieties. If you sow several kinds, make a simple list and prepare labels before filling the tray. Use the packet’s instructions rather than assuming every seed needs the same treatment.
Set up the tray safely
Place the tray on a level, water-tolerant surface with suitable light and airflow. Inspect it for cracks, debris, or blocked drainage holes. Follow the tray manufacturer’s directions for any base, dome, or drainage features. Use a clean tray and an appropriate seed-starting medium as recommended for the plants.
Do not let water spill onto electrical equipment, furniture, or a walking path. Keep soil, seeds, and small tray parts away from children and pets. Wash hands after handling potting materials, and avoid inhaling dry dust.
Label before sowing
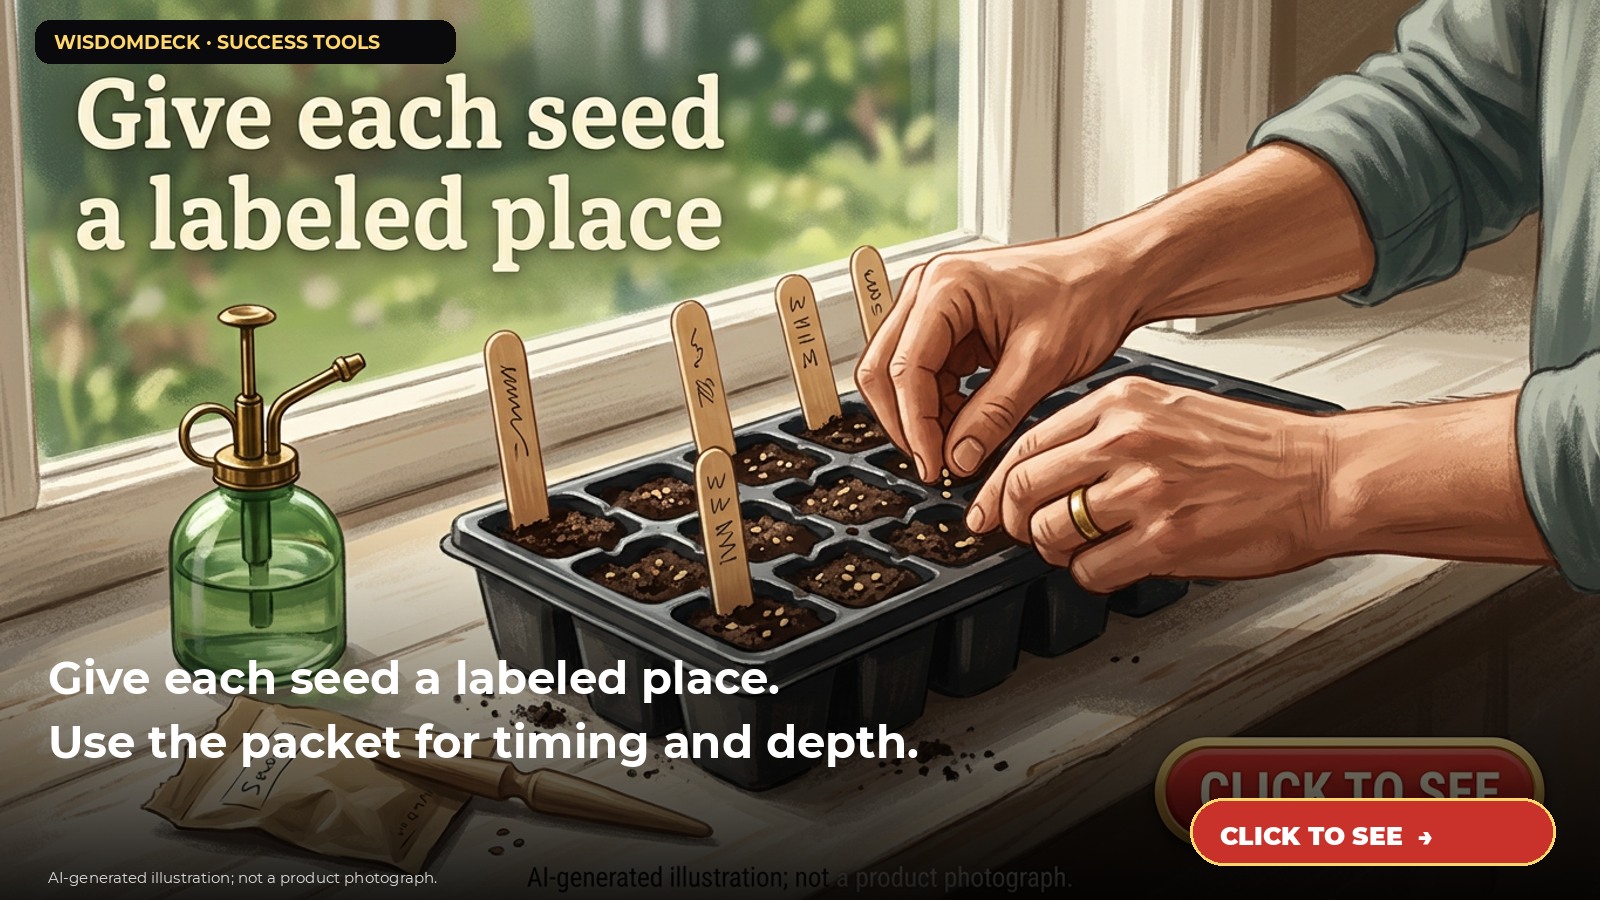
Write the plant name and date on each marker before planting. Place labels where they remain visible when leaves emerge. A paper map of the tray can back up labels, especially if markers are moved during watering or transplanting.
For example, dedicate one short row to a single variety, label both the row and the map, and record the sowing date. This simple record helps you compare progress without relying on memory. Avoid crowding multiple varieties into an unlabeled cell.
Water and monitor according to guidance
Follow the packet and growing guidance for moisture and light. Check the tray regularly rather than leaving it in direct sun or allowing the medium to dry or stay waterlogged. If a humidity cover is used, follow its instructions and adjust ventilation as advised for the crop.
When seedlings emerge, continue to follow crop-specific directions for light, spacing, and hardening off. Do not transplant by calendar alone; check the plant and local conditions. Handle young stems gently and use appropriate tools.
Clean and store after the season
Empty used cells and clean the tray according to its material and manufacturer’s directions. Let it dry fully before storing. Reuse it only if it remains intact and can be cleaned appropriately. Keep labels and notes together for the next planting plan.
Check pack size and tray details
The referenced Gardzen listing describes six-cell trays sold in a multi-pack; check the current package count, cell size, drainage, and material. A few reused containers may work for a small planting if they are clean and have suitable drainage, so compare what you already have before buying.

Launch list
Be there on day one.
One email when the book opens on Kickstarter. Nothing else. Already reading the book? Your Cheat Sheet is at wisdomdeck.com/free.
Coming soon on 
The book itself — 40 laws in ten parts, 320 pages, each ending with The Work — is funded first on Kickstarter.


